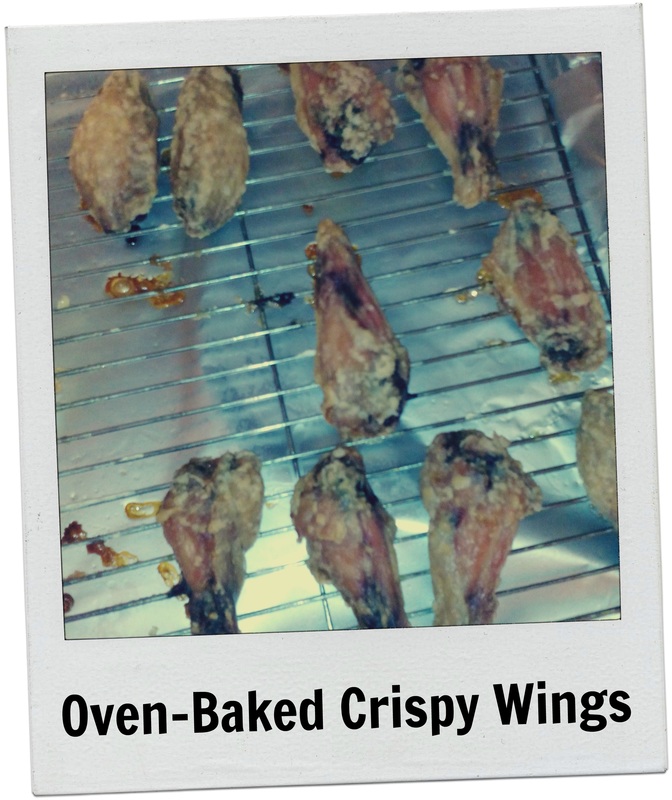
Hubby dear has been after me to simply learn to make them myself.. can't be that hard he says. I scoffed knowing it can be hard to get crispy wings if you don't want to do the whole oil fryer thing...
But he persisted, and so I gave it a shot. Took me a while to find a recipe I wanted to try but I found one...AND>>> drumroll.... it not only passed MY inspection, but it also passed hubbys!!!! Imagine that! He likes a completely different wing than I do, so to find a recipe that works for both of us was great!
- 4 lb/ 2 kg chicken wings, cut into wingettes and drumettes (tips discarded)
- 2 tbsp baking powder (NOT BAKING SODA / BI-CARB SODA!!)
- ¾ tsp salt (you could add other seasonings if desired)
- Oil spray
- If you are organized enough, uncover the chicken wings and leave them in the fridge for a few hours to dry out. Otherwise, use a paper towel to pat the wings dry.
- Adjust oven racks to upper-middle and lower-middle positions.
- Preheat oven to 250F/120C.
- Line a baking tray with foil, then place a rack (like a cooling rack) on the foil. Spray the rack with oil spray. I forgot this step, didn't make a difference.
- Place wings in a large bowl or in a ziplock bag. Add the baking powder and salt, then toss to coat evenly.
- Place the wings on the baking tray in a single layer with the skin side up. They should just fit snugly. They will shrink when they cook because the fat renders out so don't worry if they look too snug.
- Place wings on the lower middle oven rack and bake for 30 minutes.
- Move wings up to the upper middle rack and increase the oven temperature to 425F/220C. Bake for 40 - 50 minutes, rotating the tray halfway through. I admittedly oops on this step too. Cooking them for an extra 1/2 hour at 250, and then for 45 minutes at 350. They turned out good.
- Remove baking tray from the oven and let it stand for 5 minutes.
- Toss wings in sauce of choice (or serve it on the side to dip / drizzle on the wings), then serve. I had mine with sweet/sour sauce and hubby had his with hot sauce.
IF you want to understand the science behind this recipe, CLICK HERE.


 RSS Feed


