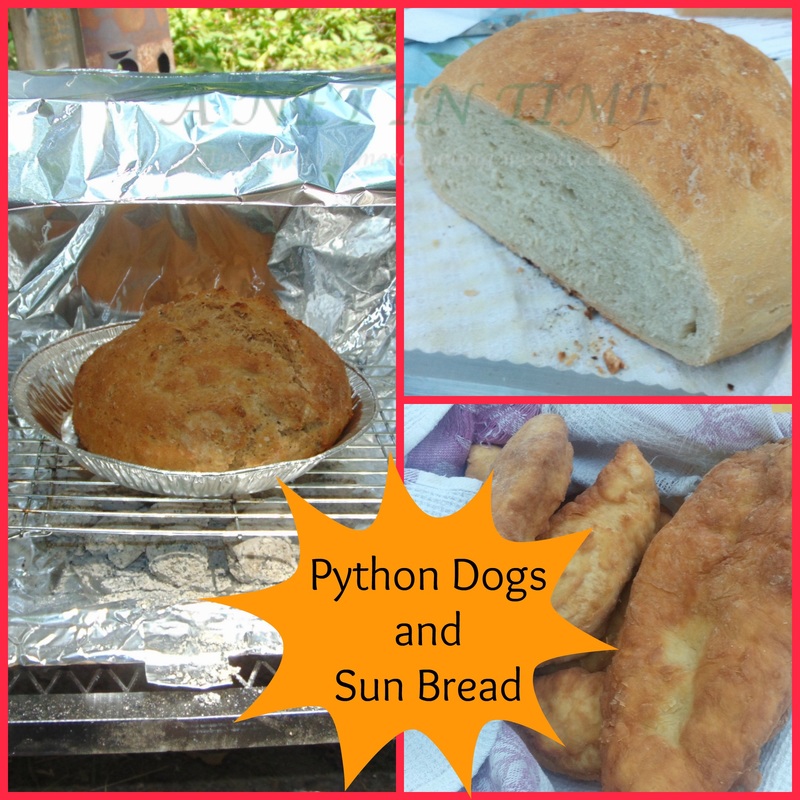
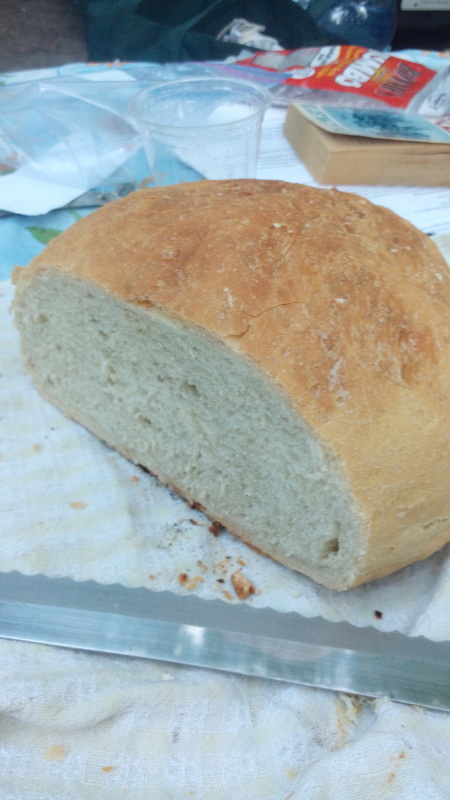
I learned to make bread! YES!!! Me....who rarely if ever makes bread. I made bread!
Instructions:
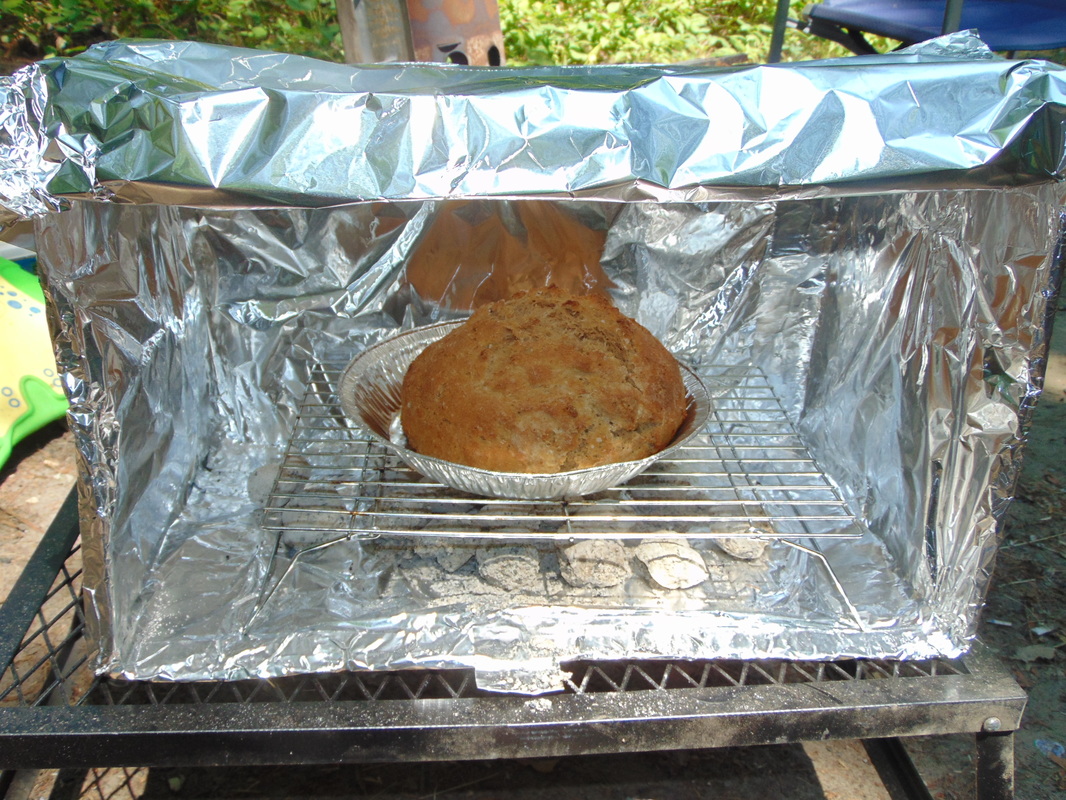
One box. make sure it will easily fit the rack you are using.
one roll of aluminum foil. I used regular strength.
then either Sticky spray that will hold down the foil OR aluminun tape (comes in a roll like duct tape).
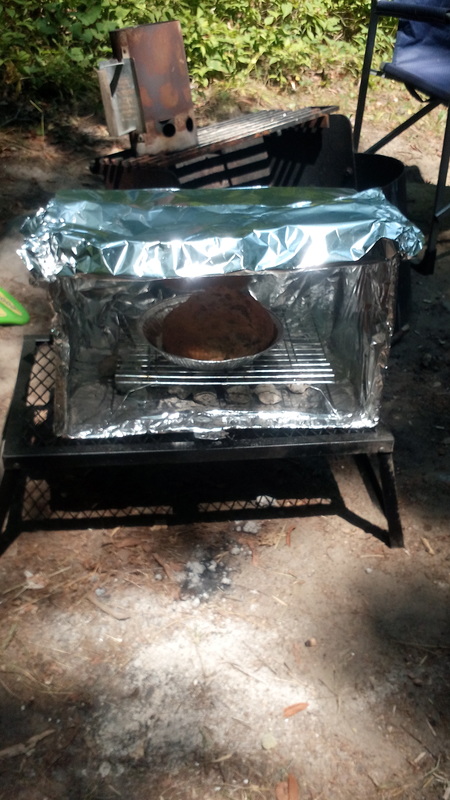
1. remove the top of the box. Either attach it to the bottom of the box OR to one of the long sides. The picture wasn't clear and the instructions horrid. I did it to the side of the box. And truth be told I didn't attach it, just laid it on top. It fit nicely. The box I used was the chips box.
2. Cover the box COMPLETELY will aluminum foil. Use tape/spray liberally. You want it completely covered. No box showing as that would be a FIRE HAZARD! Shiney side facing out NOT in.
3. Once that is done say YEAH!!!! The hardest part is finished.
Now some hints.
If you put the extra layer on the bottom the sun will help provide heat (if it's a sunny day) to cook the top of the bread. Doing this will give you a loaf with a very light shading of brown.
OUR site was a shady one...one small patch of sun that moved and then disappeared so I did mine on the side so the heat of the coals would radiate off the top of the box and cook the bread that way.
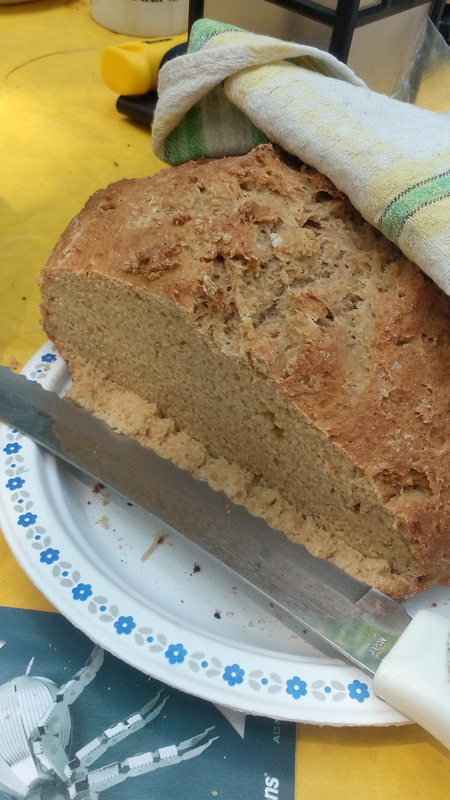
First two loaves I made was Irish Soda bread. VERY easy to do.
Ingredients and Instructions
4 cups flour (I used a fibre flour so needed a touch more liquid for the first loaf, regular flour for the second loaf)
1 tbsp sugar
1 tsp baking soda
1 tsp salt
2 cups buttermilk
Mix it all together (first the dry then add the liquid).
Form into loaf (I used disposal pie plates) OIL THEM FIRST!
Cut a cross into the top, it's traditional and it allows the bread to expand.
Let it sit the ten minutes it takes to get your coals hot in the chimney. You'll need about 14 of them.
Takes about half hour to cook. If a coolish day you might want to add a sleeve of aluminum foil to the top of the box and drape it down to contain the heat.
This bread stores well wrapped in tea towels.
3 1/4 cup flour
1 pkt dry active yeast
1 tsp salt (I used kosher)
1 1/2 warm water.
First time I let the yeast sit in the water for five minutes and then added the remaining ingredients (mixed together first).
Second time I just mixed everything together without letting it sit first.
JUST SO YOU KNOW you get a lighter loaf if you let the yeast sit for a bit first. :)
So you have it mixed, now let it sit in a warm spot for an hour (we used the vehicle as it naturally gets warm in the sun). Punch it down and then shape it by tucking it in (form a circular shape and pull the dough from the center tucking it under neath).
First time we followed the instructions, preheating a dutch oven and cooking it take way. Just so you know... NOT A GOOD METHOD!!!! A preheated dutch oven is VERY difficult to work with!!!
Next time I just cooked it in the sun oven and it turned out great though I got distracted the last five minutes so it got a touch darker than it should have. Still tasted good.
Fresh bread lasts two days when camping before it moulds so eat it quickly.
This bread does best stored in a bag, large ziplocs work well for this.
It is I THINK supposed to be for making tortillas or wraps or something like that but we played around with it.
INGREDIENTS
4 cups flour
2 tbsp baking powder
1 tsp salt
1 tbsp melted butter (we used oil)
2 cups milk (used almond milk as it travels and stores well)
1 cup flour (or thereabouts)
cooking oil
Mix first five ingredients together (first dry and then adding wet).
Flour your working area with the remaining flour...not all the flour at once, just a bit at a time so you can work with the dough. The flour helps you flatten and shape it.
Now you have a choice to make.
Make it super thin and cook on a slightly oiled fry pan like a tortilla.
OR make thin strips and wrap around a hot dog, chocolate bar, or other such items and drop into a hot oil pan.
OR make into thin wedges and turn them into crispy chips cooked in the hot oil
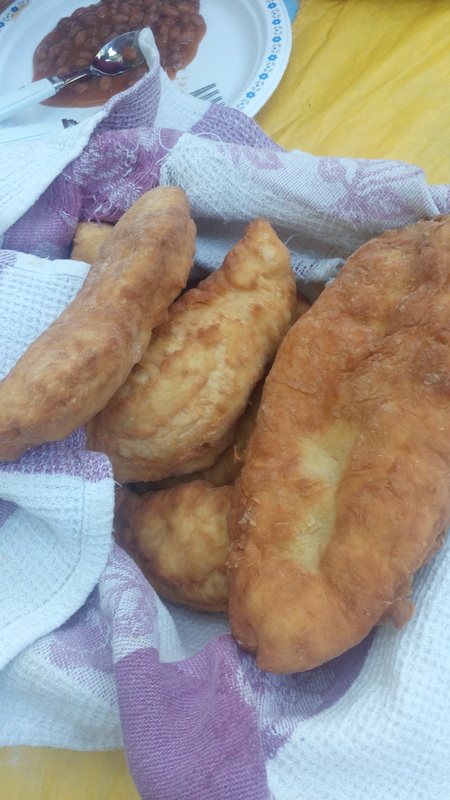
OR make them into thicker pieces like indian fry bread (great with honey, jam) or if you slice into them like pitas into peanut butter-jam sandwiches.
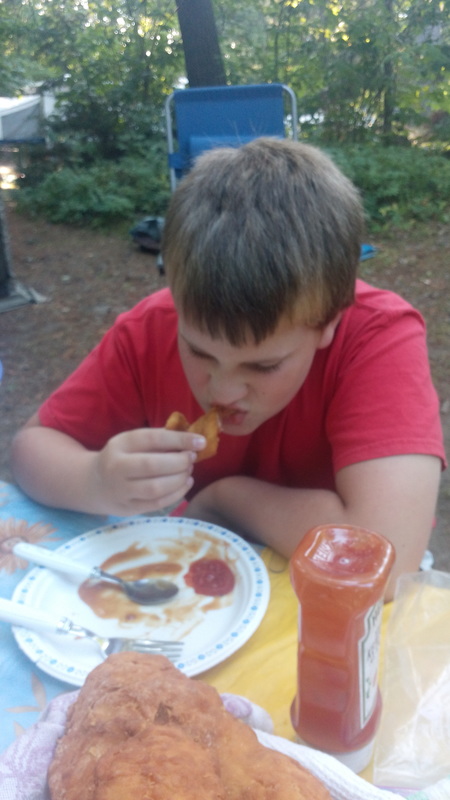
PLAY around with it. Lots of fun. My son said they were great wrapped around starburst candies.
NOTE: when wrapping them around something... you want to use less flour so it's kinda sticky so you can mould all the pieces together.
This bread stores REALLY REALLY well and became our go-to for our final days of camping.
Mind where you sit and what you are working on, lest you have a fall and have hot coals hand where they aught not land. You don't want to deal with a burn while camping. :)




 RSS Feed


